10 DIY Solar Panels Tips for Global Buyers?
Solar energy is no longer a niche technology for remote homes. IRENA’s Renewable Capacity Statistics 2025 reports that global renewable capacity exceeded 4,400 gigawatts at the end of 2024. Solar power contributed the largest share of new additions. This rapid growth gives global buyers more equipment choices, but it also creates confusion. Product quality, shipping conditions, local weather, and electrical standards can differ sharply between countries.
This guide introduces 10 practical diy solar panels tips for buyers comparing kits, components, and installation plans. The advice focuses on real decisions, such as checking panel dimensions against a small balcony, confirming inverter compatibility, and protecting cables from heavy rain. The International Energy Agency’s Renewables 2024 report expects solar PV to remain the dominant source of renewable capacity growth through 2030. That outlook is encouraging, but a low purchase price does not guarantee a safe or efficient system. Not even close.
Buyers should verify certification marks, warranty terms, supplier history, and after-sales support before ordering. IEC standards, local grid rules, and qualified electrical inspections may apply, especially for grid-connected systems. A portable off-grid kit can be simpler, while a rooftop installation may require professional design and approval. Real-world experience also matters: shading from a nearby chimney can reduce output, even under bright sunlight. Some advice online is too confident. Panel performance depends on temperature, orientation, dust, and maintenance. These tips aim to support careful decisions, not replace local engineering guidance.
Understanding DIY Solar Panel Systems and Global Buyer Needs
DIY Solar Panels Tips for Global Buyers?
Understanding DIY Solar Panel Systems and Global Buyer Needs
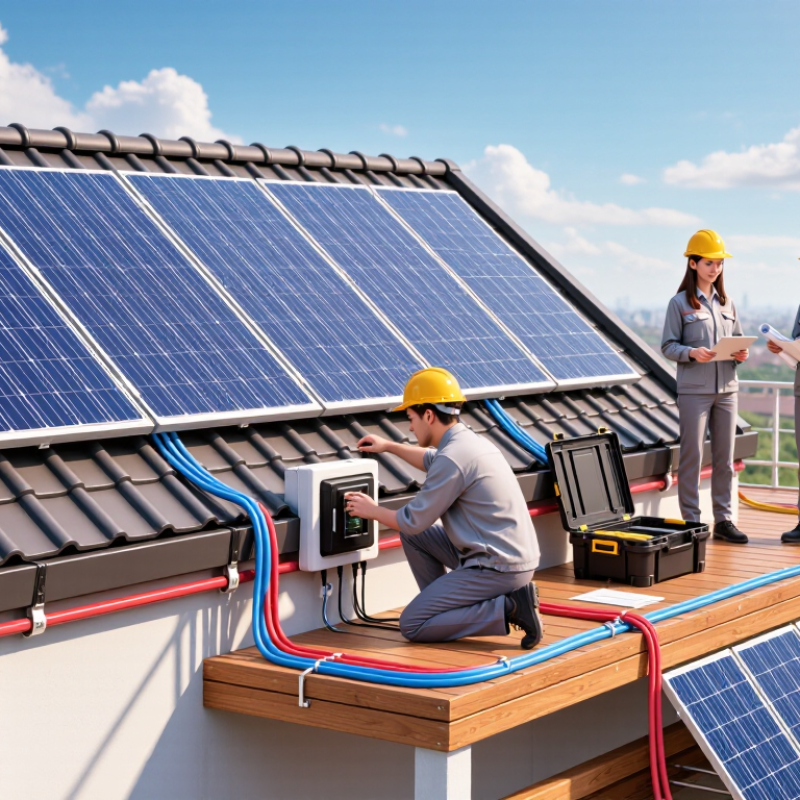
A DIY solar system is more than panels fixed to a roof. It includes mounting rails, wiring, an inverter, protection devices, and sometimes batteries. Global buyers must match each part with local voltage, frequency, weather, and electrical rules. A system designed for a dry climate may perform poorly under tropical heat, salt air, or heavy snow.
Measure the roof before ordering equipment. Note its direction, slope, shaded areas, and structural condition. Even a thin morning shadow can reduce output across a panel string. Check the roof load with a qualified professional, especially when adding batteries indoors. Battery ventilation, temperature control, and fire separation require careful attention. Do not guess here.
Start with realistic energy data from utility bills. Compare daytime use with expected solar production, not advertised peak output. An online calculator can help, but it may ignore dust, cloudy seasons, cable losses, and aging. That matters. I have seen buyers purchase large systems while overlooking local connection limits or replacement costs. A licensed electrician should inspect final connections and permits. Rules differ widely between countries, cities, and grid operators. Keep invoices, test results, product certificates, and maintenance records. These documents support safer installation and future repairs.
Comparing Panel Types, Power Ratings, and International Standards
10 DIY Solar Panels Tips for Global Buyers
Panel type affects more than appearance. Monocrystalline modules usually deliver high efficiency in limited roof space, often around 20–23%, according to the Fraunhofer Photovoltaics Report 2024. Thin-film panels can perform better in diffuse light, but they need more area. Bifacial modules may gain extra energy from bright ground surfaces, though the result depends on mounting height and reflection. Do not trust the wattage alone. A 450-watt panel produces that rating under standard test conditions: 1,000 W/m² irradiance, 25°C cell temperature, and AM1.5 sunlight. Hot roofs reduce output.
Check the data sheet carefully. Compare temperature coefficients, open-circuit voltage, operating voltage, dimensions, and warranty terms. A higher power rating is not always better for a small inverter or charge controller. The IEA PVPS Trends 2024 report recorded more than 400 GW of new photovoltaic capacity worldwide in 2023, showing rapid deployment but also wider quality differences. My imperfect habit is checking dimensions late. That mistake can leave unused roof space and expensive mounting changes.
For international purchases, look for test and safety evidence under IEC 61215 and IEC 61730. Installation design should also follow IEC 62548 where applicable, while local electrical rules still control acceptance. Certificates need matching model numbers, not similar product names. Inspect connectors, cable length, frame condition, and packaging before installation. A panel may meet one market’s standard but fail another authority’s paperwork. Measure twice. Then compare the real energy yield, not just the label.
10 DIY Solar Panel Tips for Global Buyers
Comparing panel types, power ratings, and international standards
How to read the chart: Monocrystalline panels generally provide the highest commercial module efficiency, while polycrystalline panels typically offer lower efficiency. Thin-film modules can perform well in heat and low-light conditions but usually require more installation area for the same output.
The efficiency figures shown are representative values for current mainstream modules: approximately 22% for monocrystalline, 18% for polycrystalline, and 19% for thin-film technology. Actual power ratings commonly range from about 250 W to more than 450 W per module, depending on module size and design.
Global buyer checklist: Confirm the rated power under Standard Test Conditions, review the temperature coefficient, check mechanical and safety certification to IEC 61215 and IEC 61730, and verify that the product is accepted by local grid and building authorities.
Planning Energy Demand, Site Conditions, and System Size
10 DIY Solar Panels Tips for Global Buyers
Planning Energy Demand, Site Conditions, and System Size
Start with your electricity demand, not the panel price. Review twelve months of bills and note seasonal peaks. Tip one: measure daily kilowatt-hours. Tip two: separate essential loads from flexible appliances. Refrigeration, lighting, and medical equipment need priority.
Tip three: inspect the roof for shade at different hours. Tip four: check roof age, pitch, drainage, and structural strength. Dust, snow, salt air, and high temperatures can reduce production. Tip five: record local sunlight patterns, including cloudy months. A clear afternoon can still hide a poor annual yield. My first estimate would be conservative.
Tip six: match system size to realistic demand and available roof area. Oversizing may waste money when storage or grid rules limit use. Tip seven: calculate battery capacity from overnight loads, not total daily consumption. Tip eight: allow space around equipment for ventilation and maintenance. Tip nine: confirm local electrical standards, permits, connection rules, and qualified inspection requirements. These vary widely between countries. Tip ten: compare warranties, documentation, replacement parts, and installer support without relying on sales claims.
Use a simple spreadsheet with demand, sunlight, losses, battery efficiency, and future appliance changes. Leave a safety margin, but test your assumptions. I once underestimated standby loads; small devices quietly changed the result. DIY work also carries electrical and roof risks. Use certified components and a licensed professional for final wiring, testing, and grid connection.