DIY Solar Projects for 2026 How to Harness Solar Power Effectively?
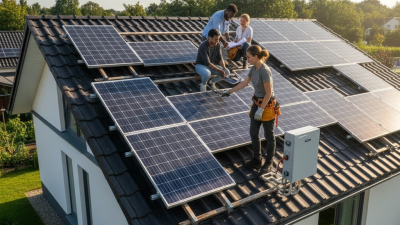
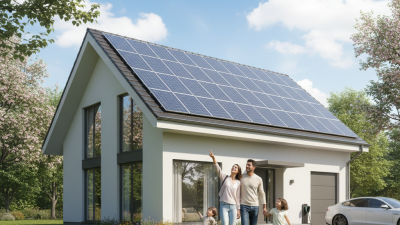
As we approach 2026, the demand for sustainable energy solutions continues to rise. DIY solar projects are gaining traction among homeowners and eco-enthusiasts who want to harness solar power effectively. According to the Solar Energy Industries Association, residential solar installations grew by 20% in 2022, highlighting a significant shift toward renewable energy.
Steve Johnson, a leading expert in the DIY solar field, states, "Empowering individuals to create their own energy solutions fosters independence and sustainability." This sentiment resonates as more people explore DIY solar options. However, it’s essential to acknowledge that DIY solar projects come with challenges and complexities. Sourcing the right materials can be daunting, and ensuring optimal installation requires careful planning.
Intriguingly, around 30% of DIY solar installations face issues related to mounting and wiring. These setbacks can lead to inefficiencies. Individuals should be prepared to tackle obstacles as they strive for energy independence. Embracing a DIY solar mindset is rewarding, but it also demands continuous learning and adaptation. This balance between empowerment and responsibility shapes the future of solar energy in homes.
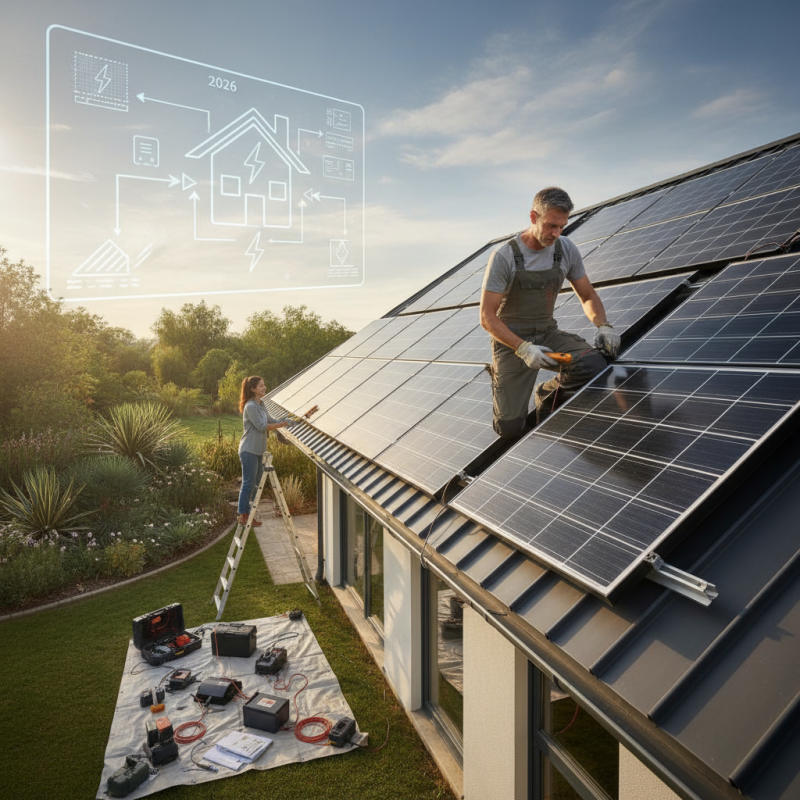
Table of Contents
[Hide]
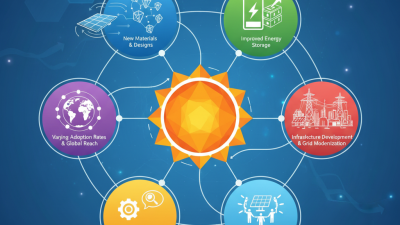
Understanding Solar Energy Basics for DIY Projects
Understanding the basics of solar energy is essential for any DIY project. Solar energy comes from the sun’s rays. It can be harnessed using solar panels. These panels convert sunlight into electricity. This process may seem straightforward, but it has complexities. Proper positioning of panels is crucial. A poorly placed panel may generate less energy.
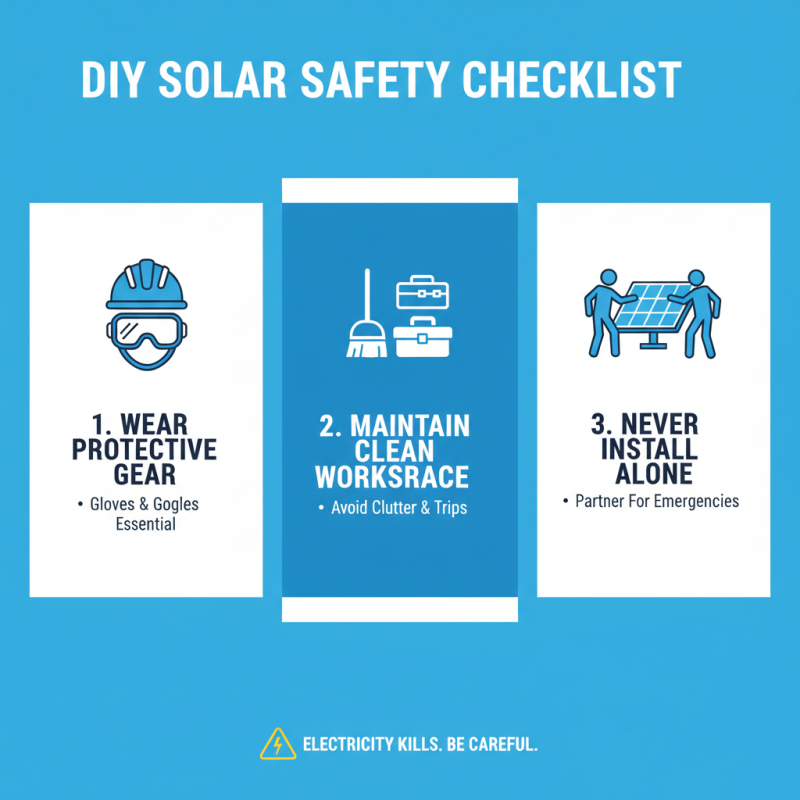
When starting a DIY solar project, research is key. Understand solar energy terms like photovoltaic and inverter. These concepts help in planning your system. Mistakes can lead to wasted materials and time. Many newcomers overlook local regulations. Installation often requires permits. Ignoring these can lead to fines.
It’s also vital to consider your energy needs. Calculating usage helps determine the size of the system. Too often, people underestimate their requirements. This leads to underperformance. Testing your system over time can reveal its true efficiency. Each project may come with unexpected challenges. Embrace these as opportunities for learning and improvement.
DIY Solar Projects for 2026 - How to Harness Solar Power Effectively
| Project Name | Estimated Cost (USD) | Materials Needed | Time to Complete | Energy Output (kWh/year) |
|---|---|---|---|---|
| Solar Water Heater | $1,200 | Copper pipes, solar panels, water tank, insulation | 3 days | 1,500 |
| Solar Charger for Phones | $150 | Solar cell, battery, charge controller, casing | 1 day | 100 |
| DIY Solar Panel | $300 | Solar cells, plywood, glass, wiring | 2-4 days | 250 |
| Solar-Powered Garden Lights | $200 | LED lights, solar panel, rechargeable battery | 2 days | 300 |
| Portable Solar Generator | $500 | Solar panel, battery, inverter, casing | 1 week | 600 |
Related Posts
-
Top DIY Solar Projects to Power Your Home Efficiently?
-
2026 Top Trends in Solar Power System Innovations and Technologies?
-
No Cost Solar Options for Homeowners in 2026 How to Save?
-
Top 10 Benefits of Solar Panels in Texas You Should Know?
-
2026 How to Choose the Best Solar Panels in Colorado?
-
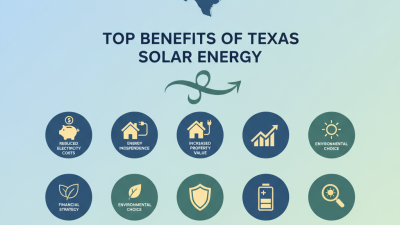
Top 10 Benefits of Texas Solar Energy for Homeowners and Businesses